
Setting Up Push Scanning to Network Folder (SMB) & Email via Document Capture Pro
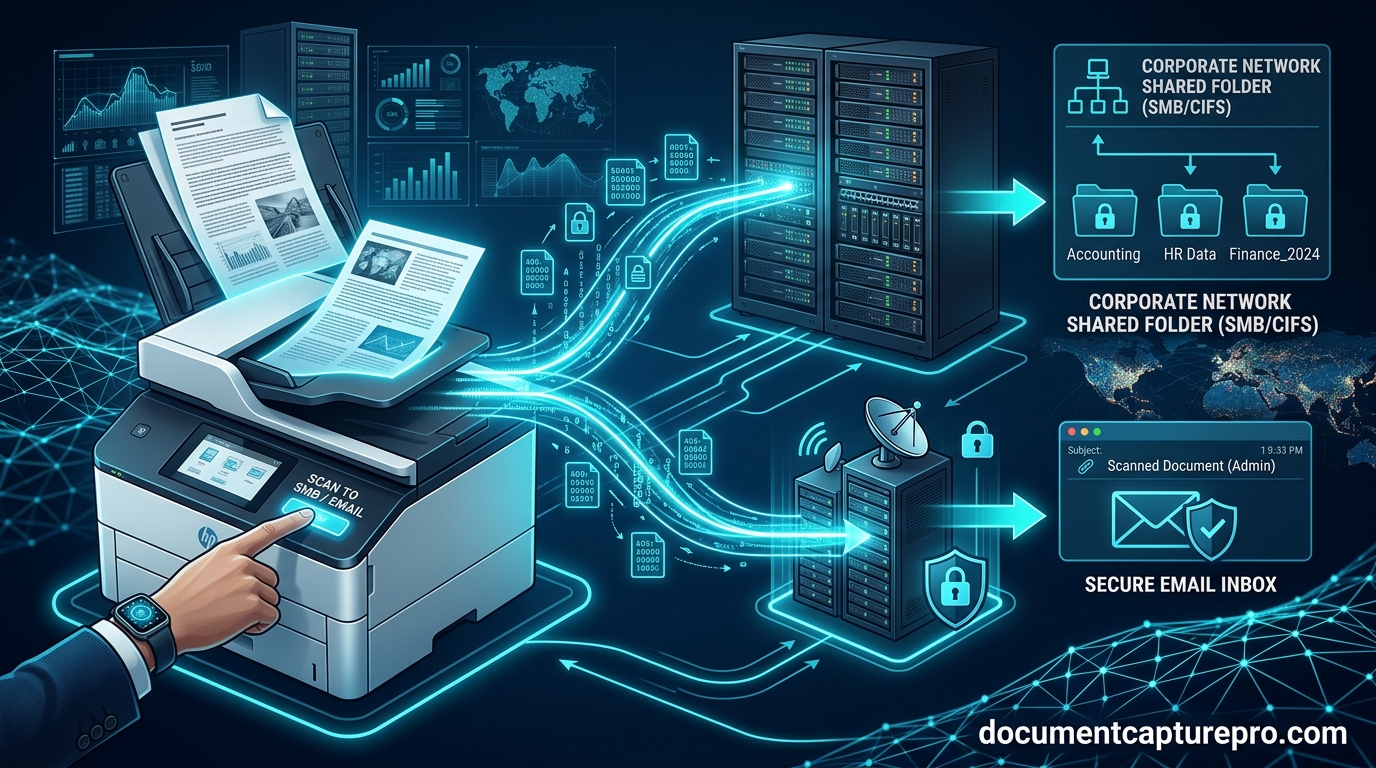
In busy corporate mailrooms and departmental scanning hubs, requiring users to log into a workstation and open a desktop application for every document scan introduces significant friction. Hardware Push Scanning allows an operator to insert documents into the feeder, select a job number on the scanner's physical LCD or button panel, and execute the entire scanning, OCR, and routing sequence with a single push.
This guide demonstrates how to configure Epson Document Capture Pro to push scans directly to SMB Windows Network Shared Folders (NAS/SAN) and automated SMTP Email inboxes.
1. Setting Up SMB Shared Folder Dispatch
Step 1: Create a Job Profile with Folder Destination
Open Document Capture Pro, navigate to Manage Job, and click Add. Under the Destination tab, choose Transfer to Folder.
Step 2: Define the UNC Network Path
Click Detail. In the folder path field, input your network share using universal naming convention (UNC):
\\file-server.internal\Accounting\Scanned_Invoices\
If your network share requires domain authentication, enter the dedicated service account username (e.g. DOMAIN\scan-svc) and credentials. Test the path to confirm read/write rights.
2. Setting Up Automated Email (SMTP) Dispatch
To push scans directly as PDF attachments to an email recipient:
- In the Destination tab, select Attach to Email.
- Choose whether to use the local email client (e.g., Microsoft Outlook) or direct SMTP Server Relay.
- For direct SMTP, input your mail host (e.g.,
smtp.office365.comor internal relay), set port 587 (STARTTLS), and configure authentication. - Specify the destination recipient (e.g.,
[email protected]) and default subject line.
3. Assigning the Job to the Physical Scanner Hardware
Click on the Assign Job to Scanner Button tab in Document Capture Pro:
- Map Job 1 to your "SMB Network Folder" profile.
- Map Job 2 to your "Department Email Dispatch" profile.
- Click Apply to transmit the profile metadata to the scanner hardware memory or Network Interface Unit.
Download Epson Document Capture Pro
Equip your scanning fleet with the official software suite and automate corporate document ingestion.
Download Verified Software